How to Build a Predator-Proof Chicken Run (Step by Step)
By ChickenGearGuide · Updated September 2026
Independent editorial guide. We never accept payment for coverage, though we may earn a commission if you purchase through our links.
Quick Take
A predator-proof chicken run comes down to one rule and three details. The rule is to cover it in hardware cloth and never chicken wire, because chicken wire keeps chickens in while a raccoon tears through it like paper. The details are the apron, the top, and the latch. Run a flat two-foot skirt of hardware cloth along the ground around the whole perimeter so nothing can dig under, cover the top so nothing climbs or flies in, and lock the door with something a raccoon can't work open. Get those right and the run is genuinely secure. Skip any one of them and it's only a matter of time.
Size it for the flock first, about ten square feet of run per bird, then build out from a simple square frame. Everything after that's fasteners and patience. Below is the step-by-step, the sizing math, and the exact materials, including the one line item, the hardware cloth, that's worth every cent, and the one, chicken wire, that's worth nothing here.
The materials that actually make a run predator-proof: See the build list ↓

The run is where most flocks are lost. The coop gets the attention because it's the thing you build first and photograph, but the enclosed yard attached to it is where chickens spend their days, and it's the part people most often build out of the wrong material and come to regret. A run wrapped in chicken wire looks finished and keeps the birds from wandering, and it'll do exactly nothing the night something decides to come through it.
This is a safety build, so we're going to be plain about what works rather than what is quick. The good news is that a genuinely predator-proof run isn't complicated or even that expensive; it's a simple frame, the right wire in the right places, and a few details that most quick builds skip. Do it once, properly, and you can stop lying awake listening for the flock.
Size the run for the flock first
Before any wire goes up, get the footprint right, because a cramped run causes bullying, feather-picking and disease, and enlarging one later is a miserable job. Plan for at least ten square feet per bird, and more is always better; if your birds never free-range, push it higher. Our space-per-bird guide has the full numbers. Decide early whether you want a walk-in run you can stand up in, which is far nicer to clean and manage, or a lower covered run you tend from outside. Either works, but it changes your frame, so settle it before you cut lumber.
The one material that matters: hardware cloth, not chicken wire
This is the whole game, so it goes first. Chicken wire is a light fence meant to keep birds contained, not a predator barrier, and a raccoon will tear it, a dog will push through it, and a weasel or rat will slip through the gaps. What you want is half-inch hardware cloth in 19-gauge, a welded steel mesh with openings small enough to stop a reaching paw and strong enough to resist tearing. Use it for the walls, the skirt, and the top. Our hardware cloth guide covers the gauges and sizes, but the short version is simple: this is the line on the whole build you don't trim.
Build a simple, square frame
The frame doesn't need to be clever, it needs to be square and solid. We haven't stood in your yard, and we aren't going to invent a post spacing or a panel count for a build we can't see, so treat the sizes here as a starting point to fit your own space. Most keepers build a rectangle of pressure-treated or cedar posts set in the ground or on a base, with a top plate and enough cross-bracing that the walls can't rack. Corner bracing is what keeps the whole thing from leaning over a season or two. Frame the door opening a little oversized so you can hang a real, well-fitted door rather than a floppy wire flap, because the door is the weak point a predator will test first.
Wrap it in hardware cloth the right way
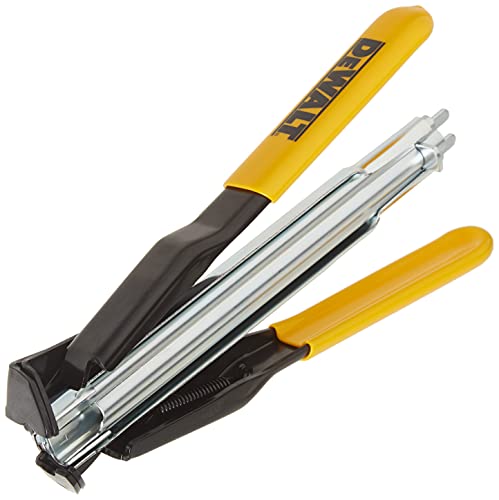
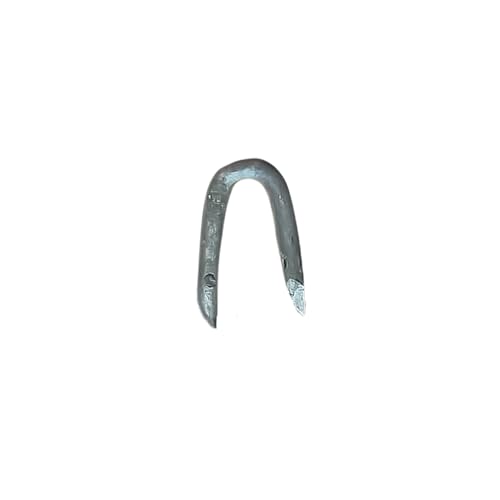
Attaching the cloth is where people cut corners, and it's where a run fails. Staple it to the wood frame with galvanized fence staples or a heavy-duty staple gun, placed every few inches so there's no gap a paw can pry open, and add screws with fender washers along any edge a determined animal can grab and pull. Where two sheets of cloth meet, don't just overlap them; join them with hog rings every few inches so the seam can't be forced apart. Cut the cloth to size with aviation snips, and wear cut-resistant gloves while you do, because the cut edges are like a row of little blades and they'll open your hands up otherwise.
The dig defense: an apron, not a buried fence
Foxes, dogs, and raccoons dig, so the base of the run needs a plan. The old advice was to bury the wire a foot or two down, but there's an easier method that works better and doesn't require a trench: the apron. Instead of digging down, extend the hardware cloth outward. Run a two-foot-wide skirt of it flat along the ground around the entire perimeter, attached to the bottom of the run, then pin it down and cover it with soil, mulch, or turf. When a predator comes to the wall and starts to dig, it hits the buried skirt and can't get past it, because animals dig at the base of a barrier rather than backing up two feet to start. Within a few weeks grass grows through it and you forget it's there.
Cover the top, always
An open-topped run is an invitation. Hawks and owls drop straight in, and raccoons, cats, and even some foxes climb a wall without much trouble. For a smaller run, cover the top in the same hardware cloth. Two-by-four welded wire will also stop raccoons and cats, but its wider mesh lets a weasel through and a raccoon reach a paw in, so stay with hardware cloth over any spot where birds roost near the top. For a large run where a solid top is impractical, aviary netting or electric poultry netting can handle the aerial threat, though netting stops birds of prey rather than a climbing mammal, so it pairs best with walls a climber can't beat. Whatever you use, don't leave the top open and hope; hawks are patient, and a covered run is the only version that lets you leave the flock out unattended.
The latch a raccoon can't open
Raccoons are the reason your run door needs more than a hook. They have hands, they're persistent, and the saying that they can open anything a toddler can isn't much of an exaggeration. A simple turn-latch or a spring hook won't hold one. Fit a solid barrel bolt and then secure it with a spring clip, a carabiner, or a small padlock, so opening the door takes two deliberate steps. That two-step is the whole trick, and it's what our predator-proofing guide means when it talks about a raccoon-proof latch. Do the same on the coop door inside the run.
Keep the run dry
A predator-proof run still fails you if it turns into a mud pit, because a wet run breeds disease and smells, and standing water undermines your posts and apron. Grade the ground so water runs away from the run, keep the floor topped up with a coarse bedding that drains, and site it out of the low spot in the yard if you can. If you already have a swamp on your hands, our guide to fixing a muddy run walks through the drainage and bedding fixes.
Everything the build leans on is below. The hardware cloth is the one thing to buy generously and never substitute; the fasteners and tools are cheap by comparison and make the job go quickly and hold up for years. If you're building the coop as well as the run, our chicken coop plans guide covers the other half of the project, from choosing a plan to sizing the nesting and roosts.
The bottom line
A predator-proof run is more specific than complicated: half-inch hardware cloth, a flat apron against digging, a covered top, and a latch a raccoon can't beat. Local threats do vary, and a run built for raccoons and hawks isn't automatically bear or bobcat proof, so check with your county extension office if you have something unusual in your area. None of the core build is expensive next to the cost of losing a flock in one night, and none of it is beyond a weekend with a drill, so the wire and the lock are where the money belongs.
Recommended
Products related to this guide.